Categories and subcategories
Add your own categories, give them an icon, and group the details under subcategories.
10 stepsProThis feature needs Expenselix Pro.
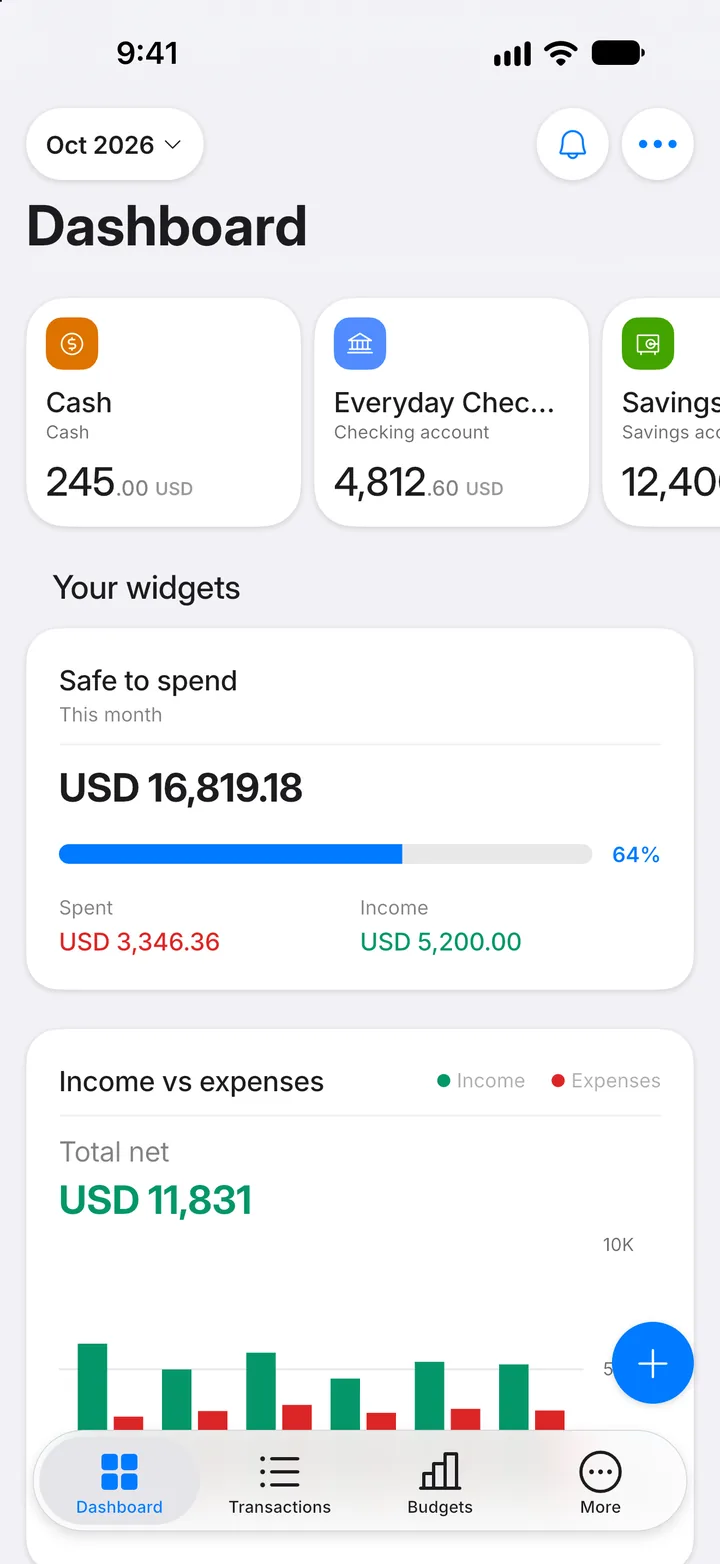
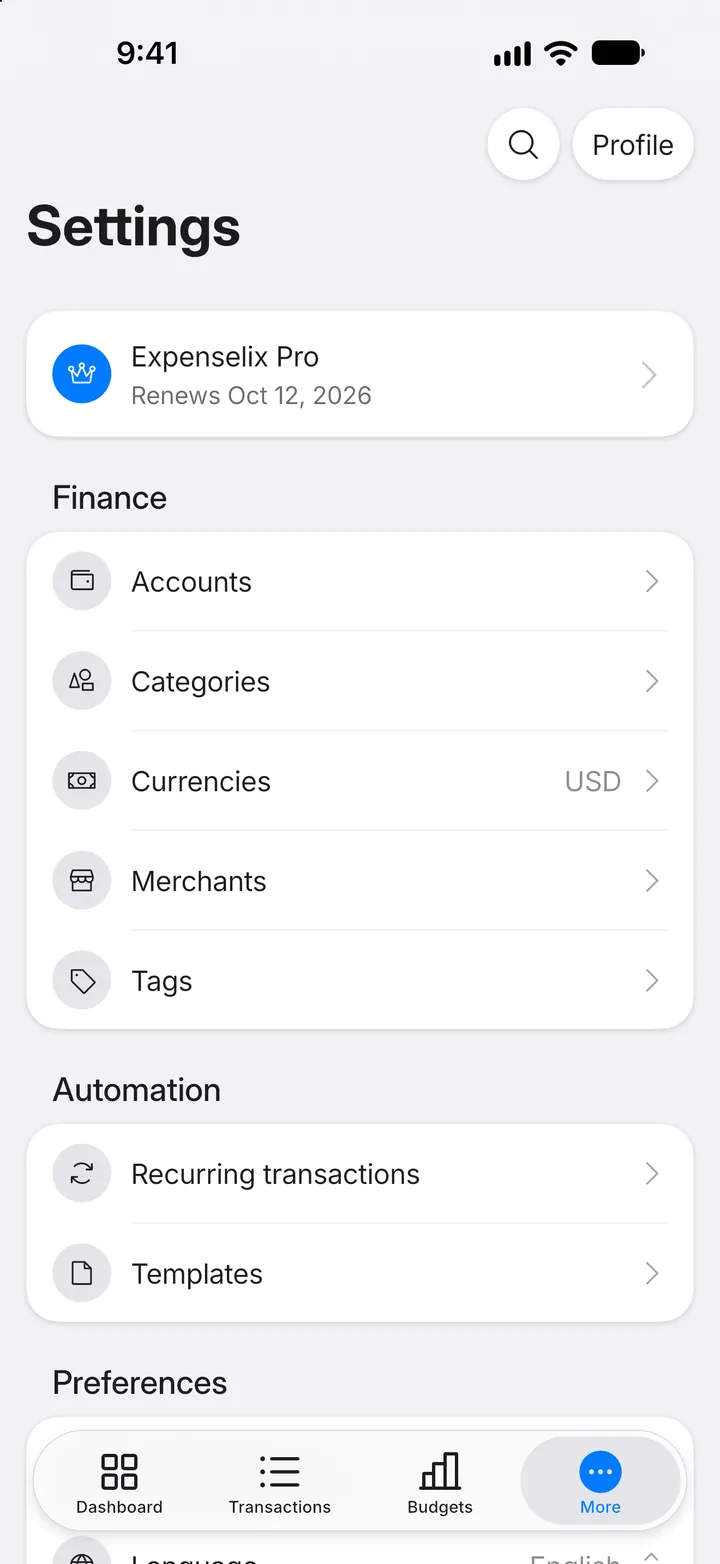
Step 1: Open More
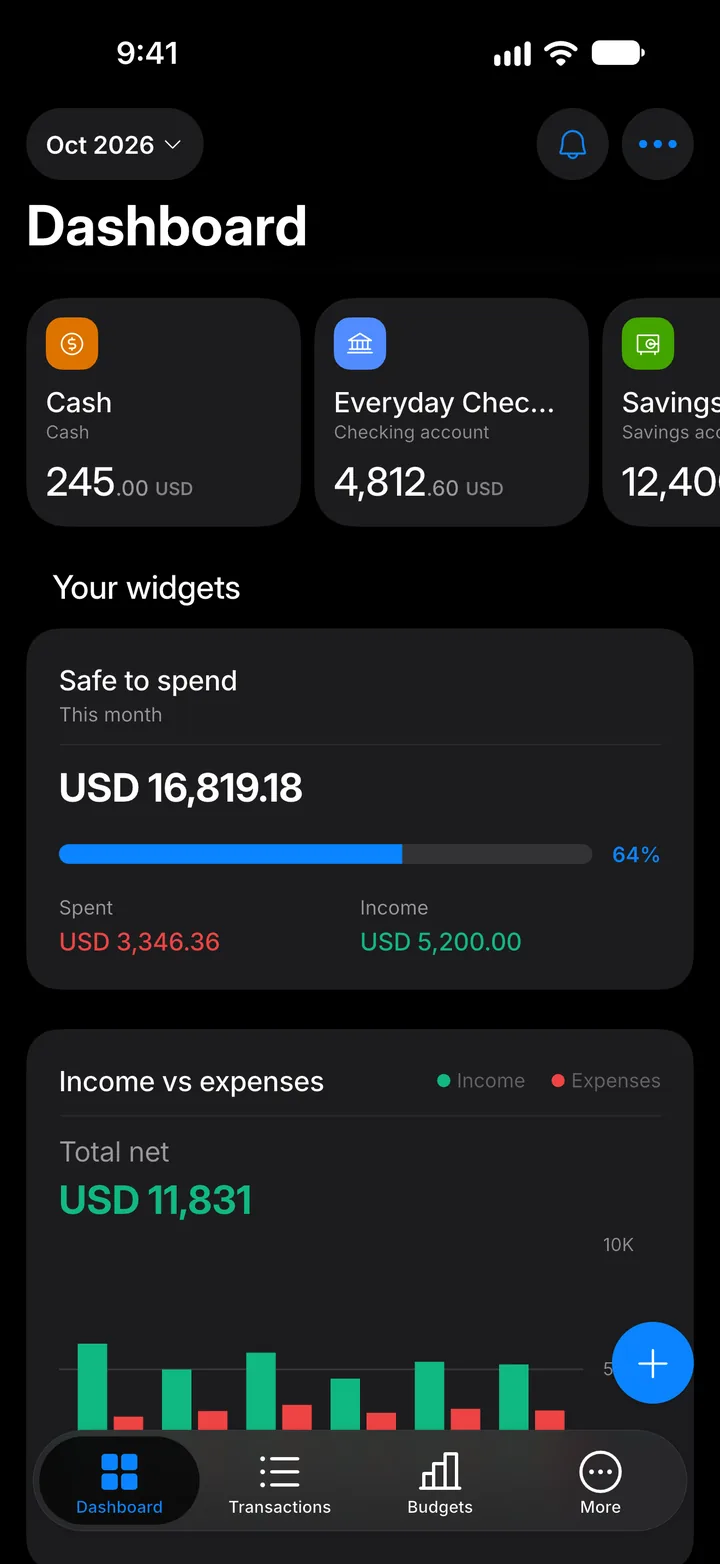
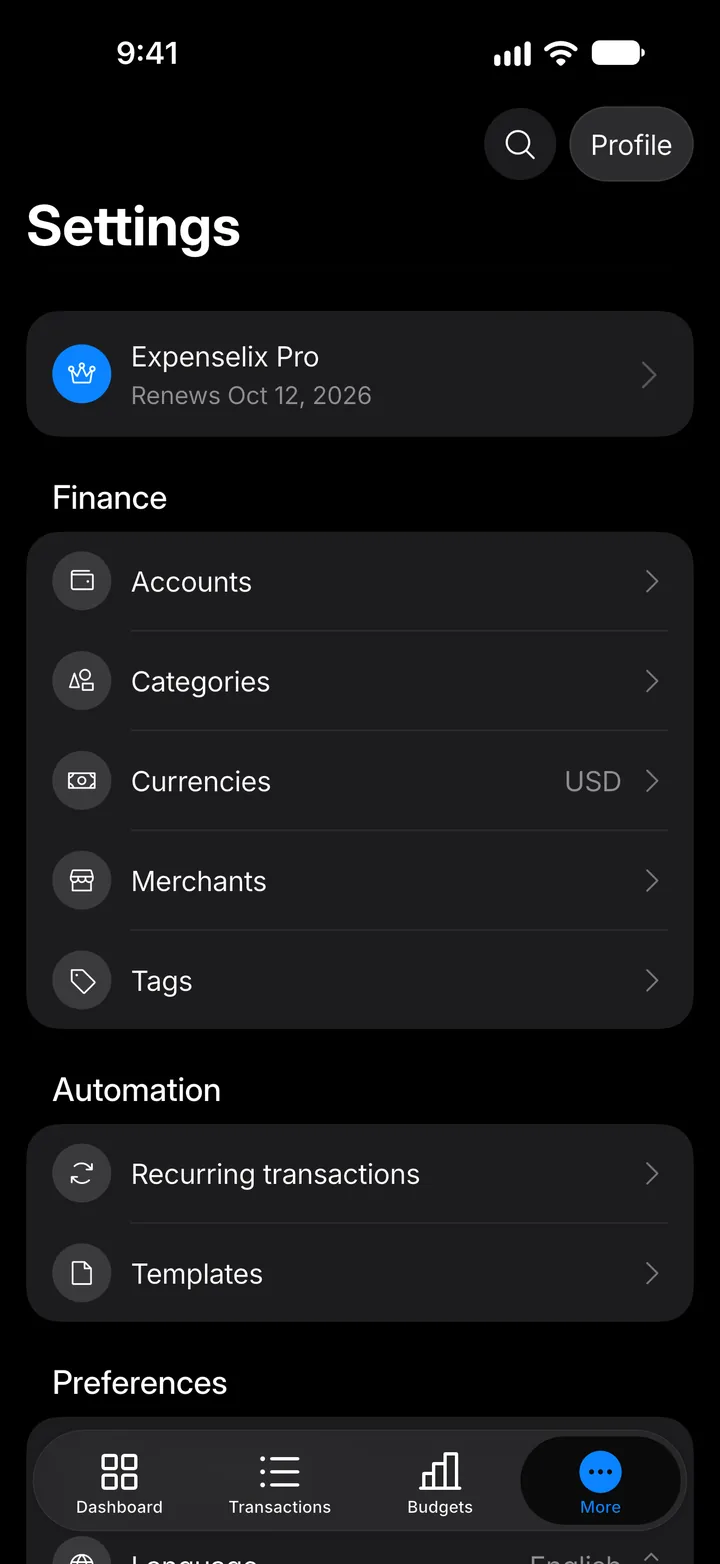
Tap the More tab.
Step 2: Open Categories
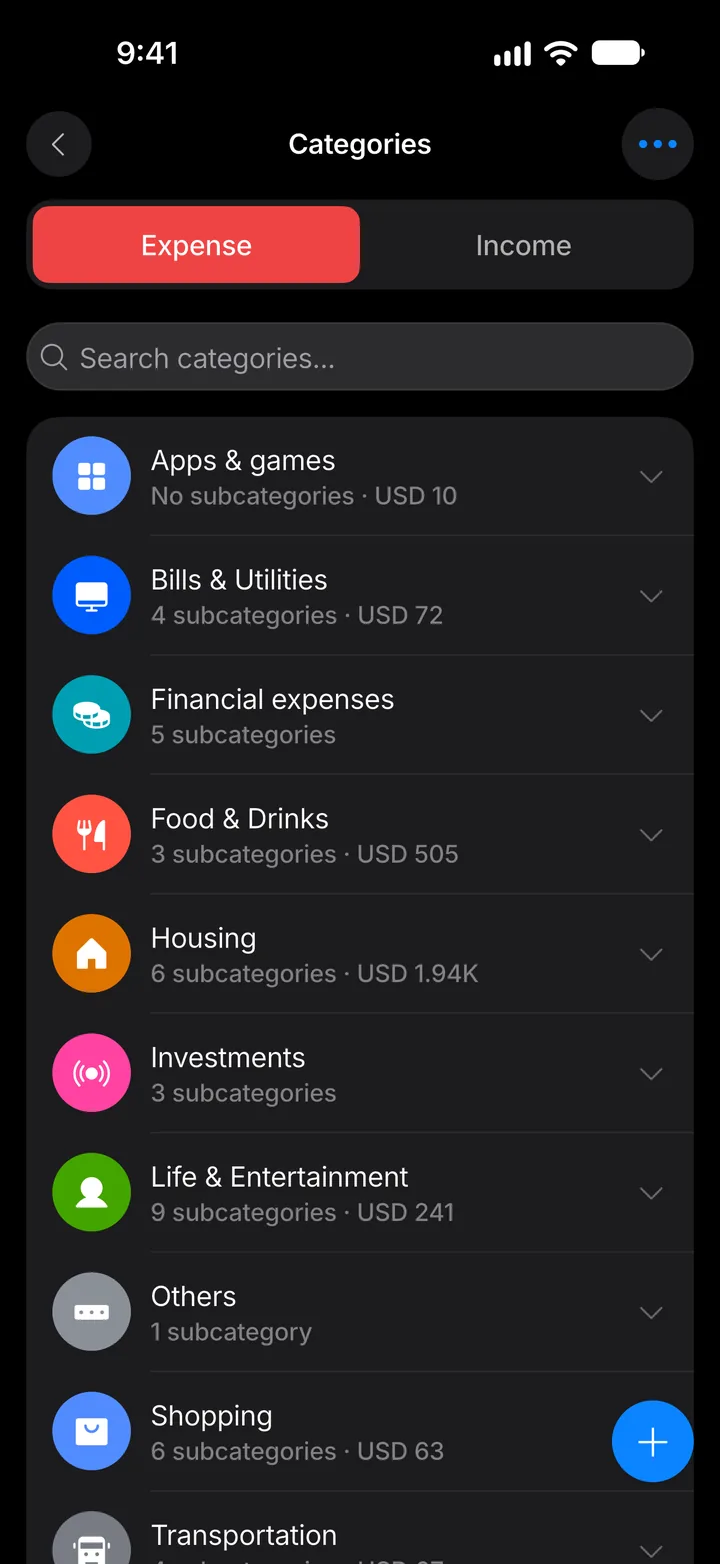
Tap Categories.
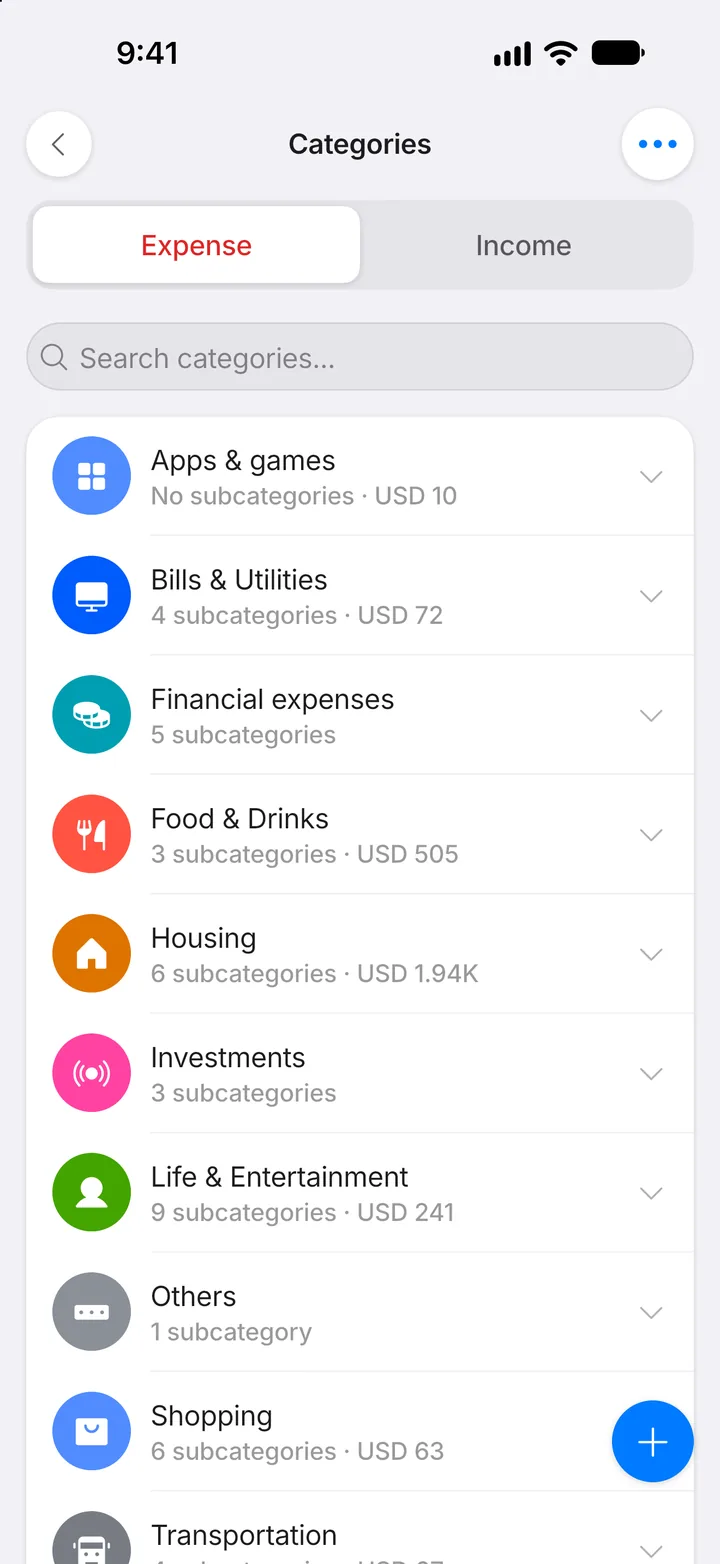
Step 3: Tap +
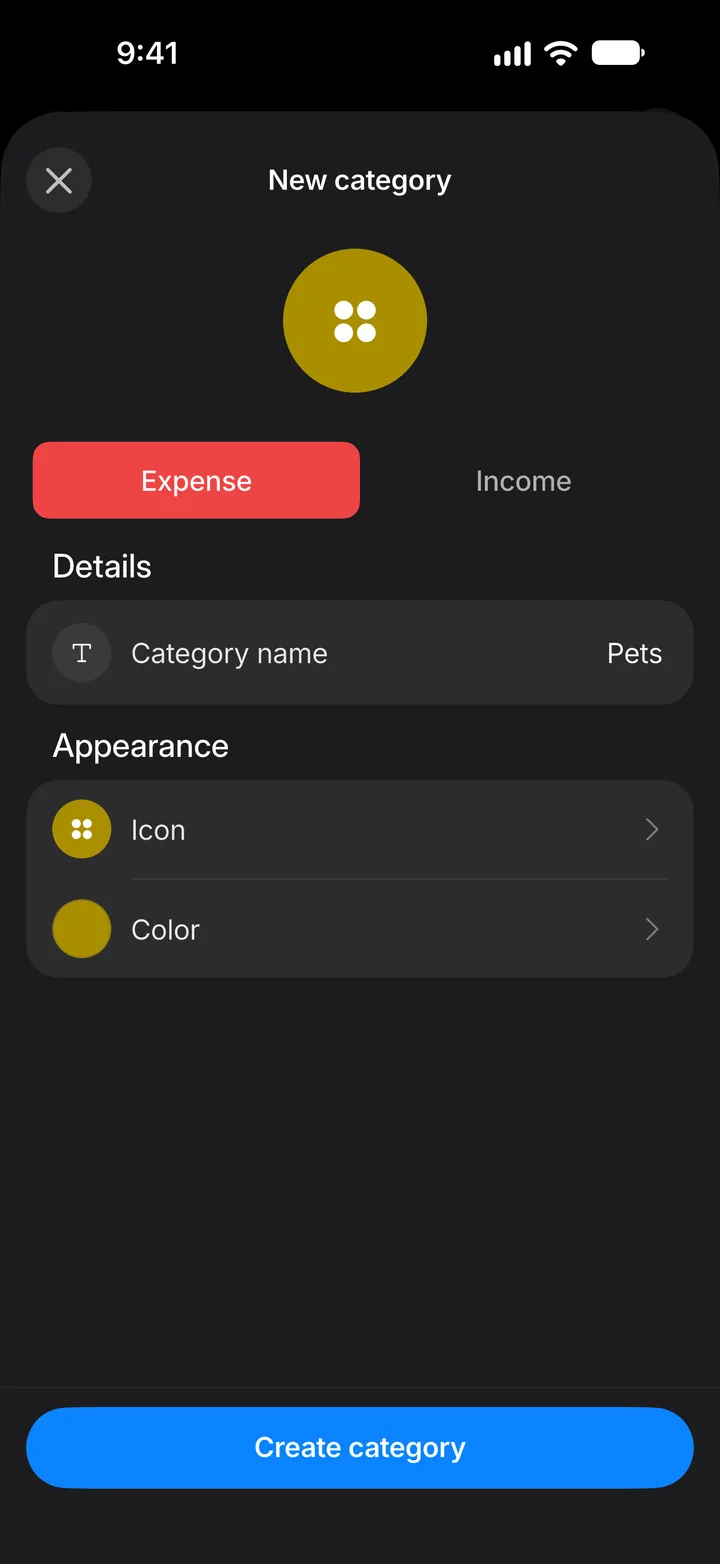
Choose Expense or Income at the top first, then tap the + button.
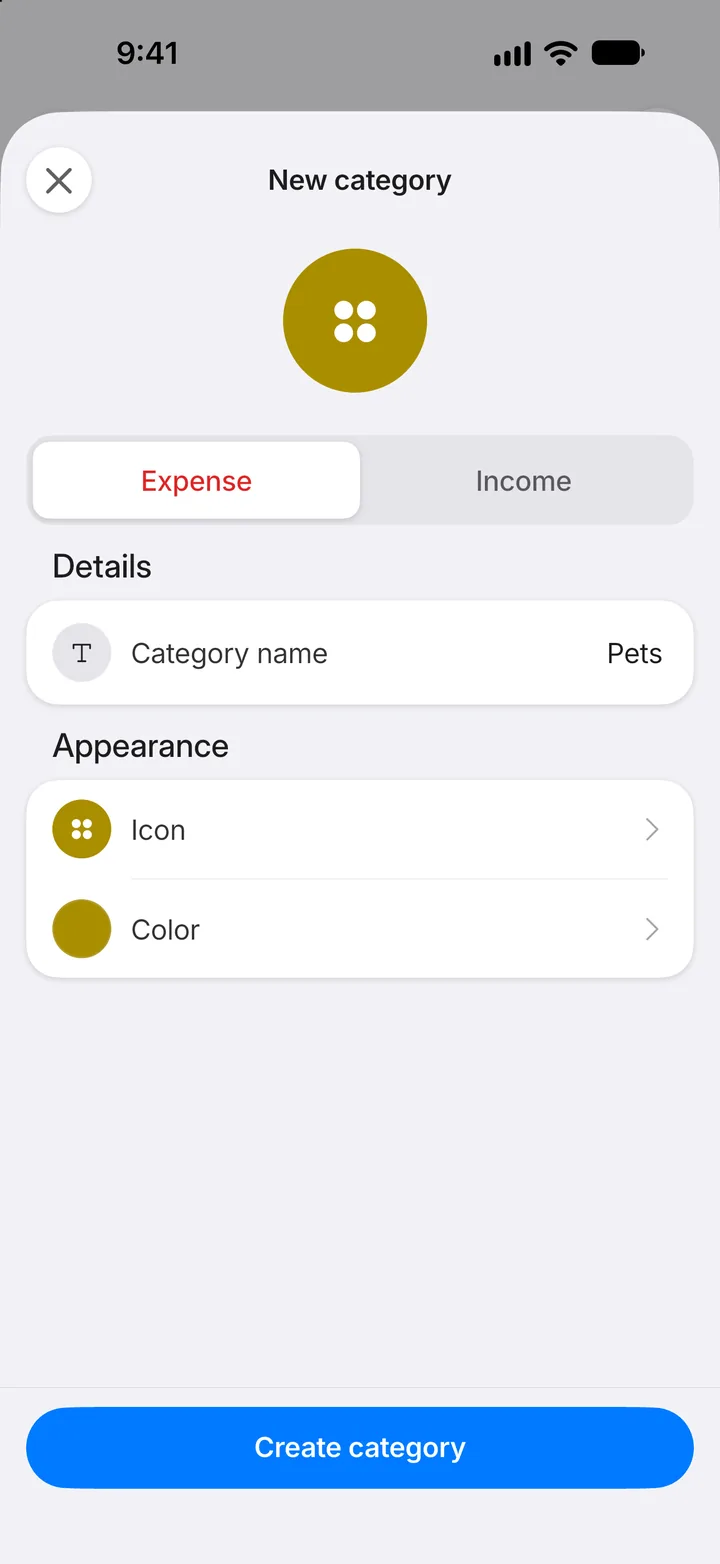
Step 4: Name it
Type a name in Category name, then tap Icon.
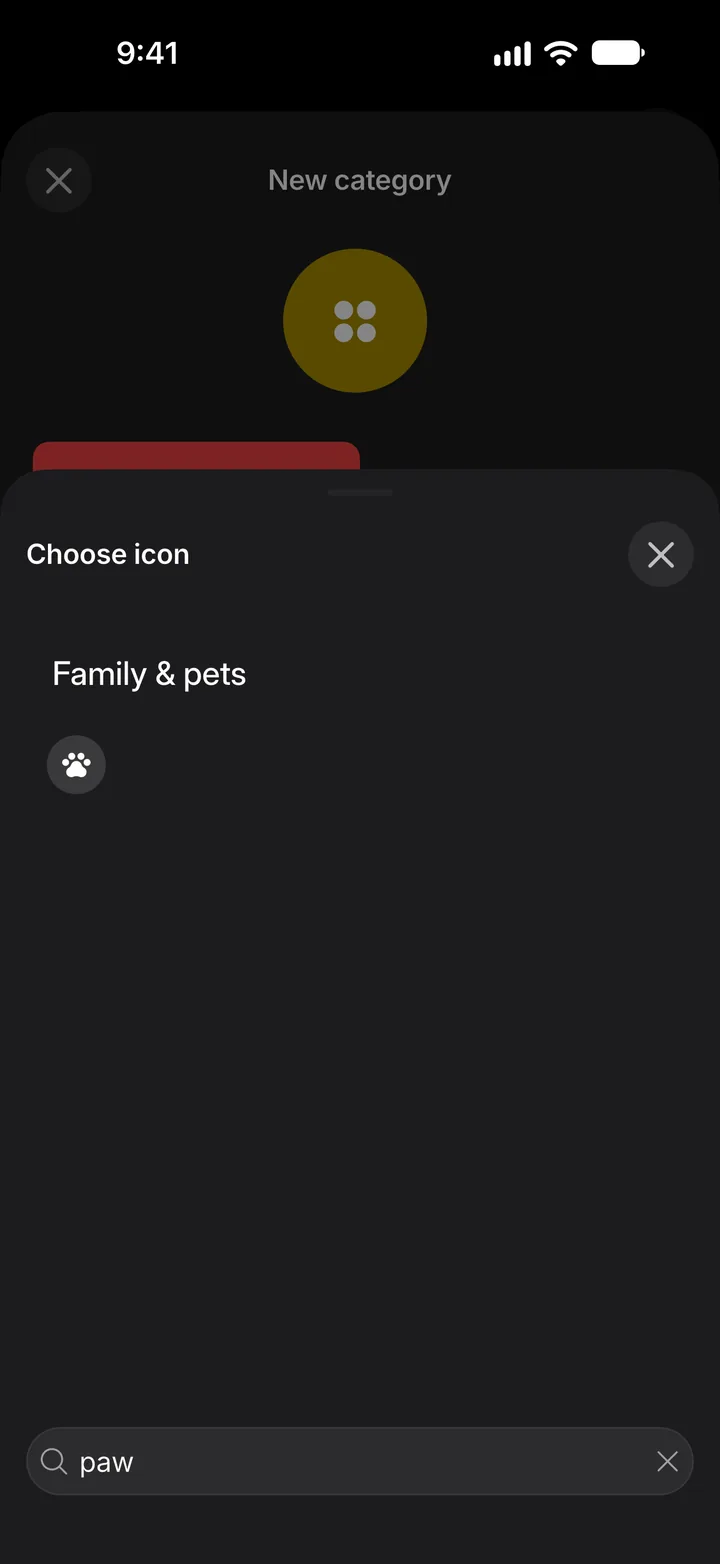
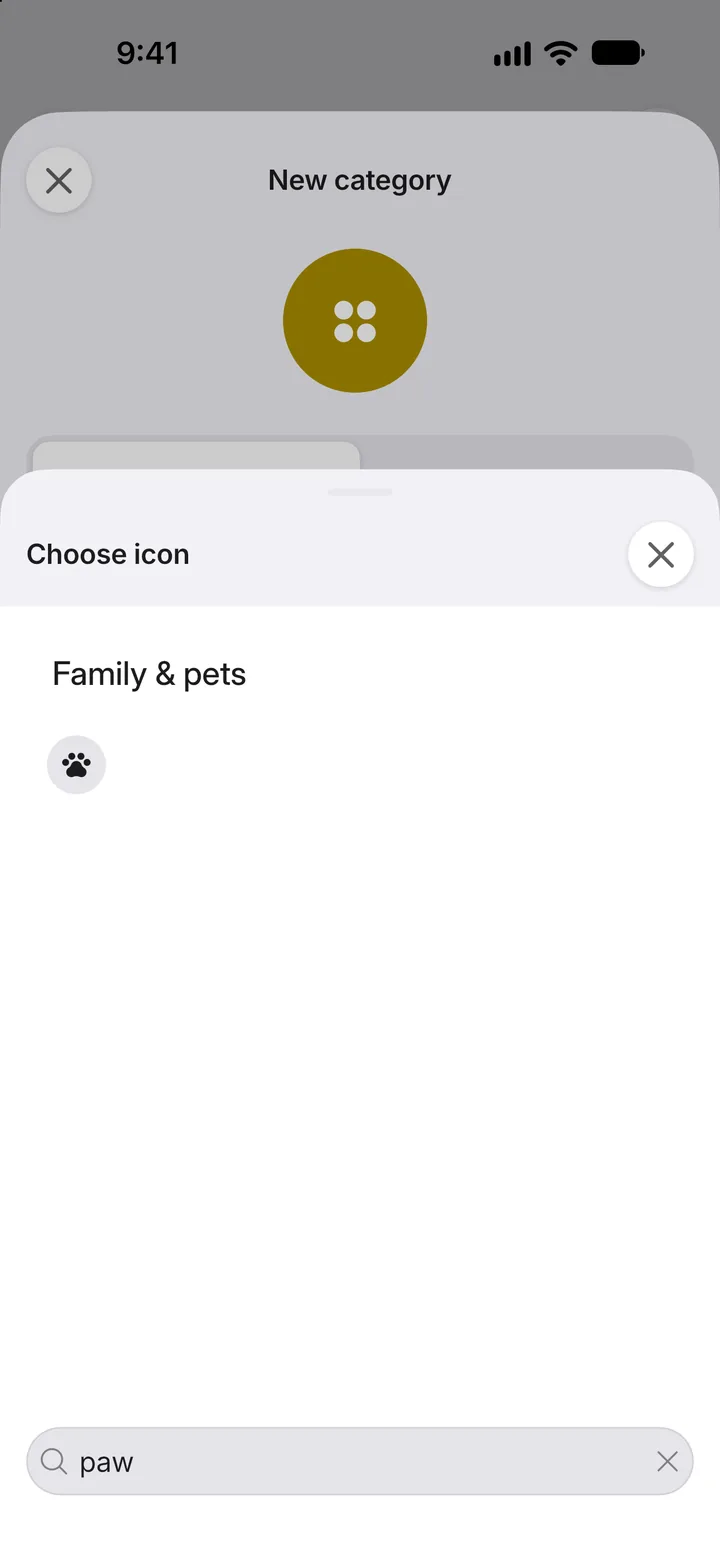
Step 5: Pick an icon
Search for an icon or scroll through the groups, and tap the one you want.
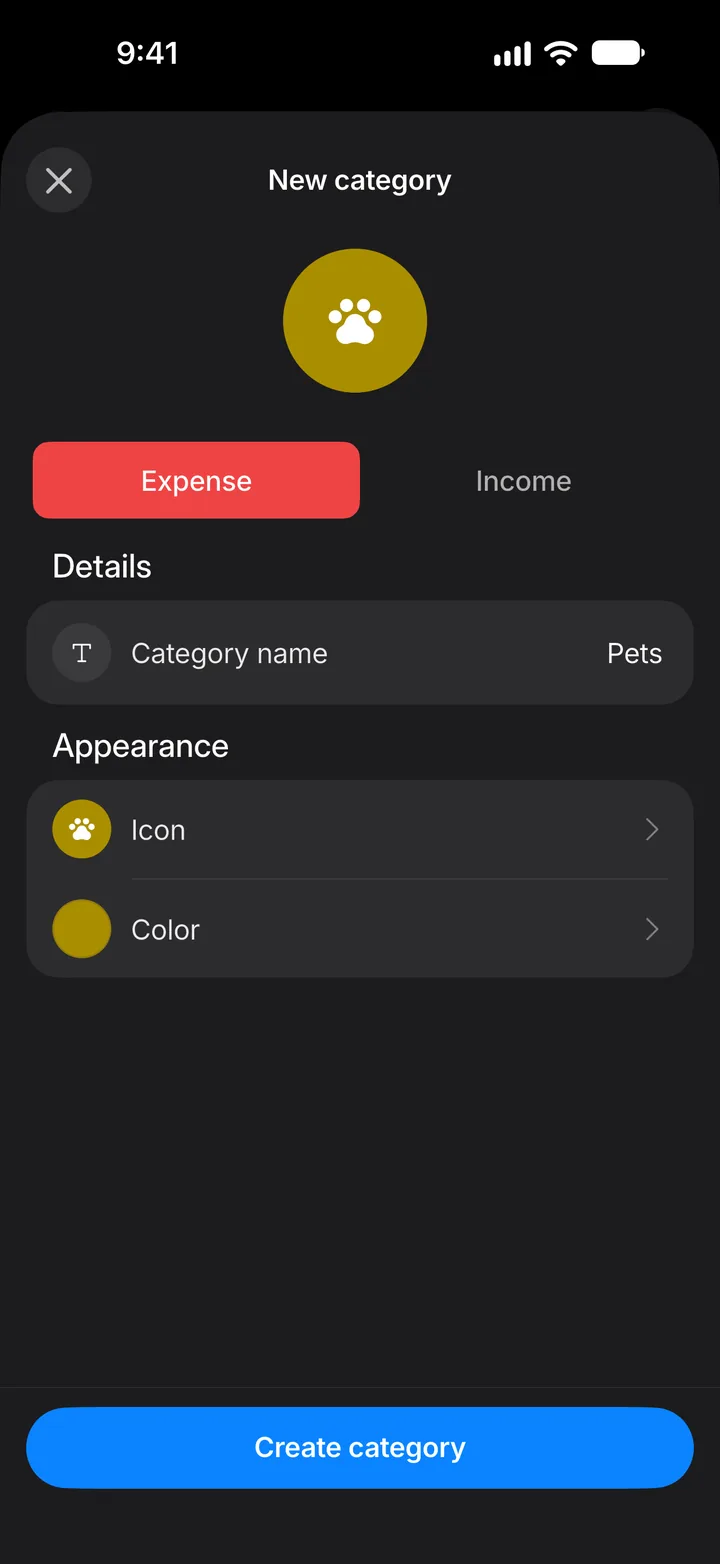
Step 6: Create it
Change the Color if you like, then tap Create category.
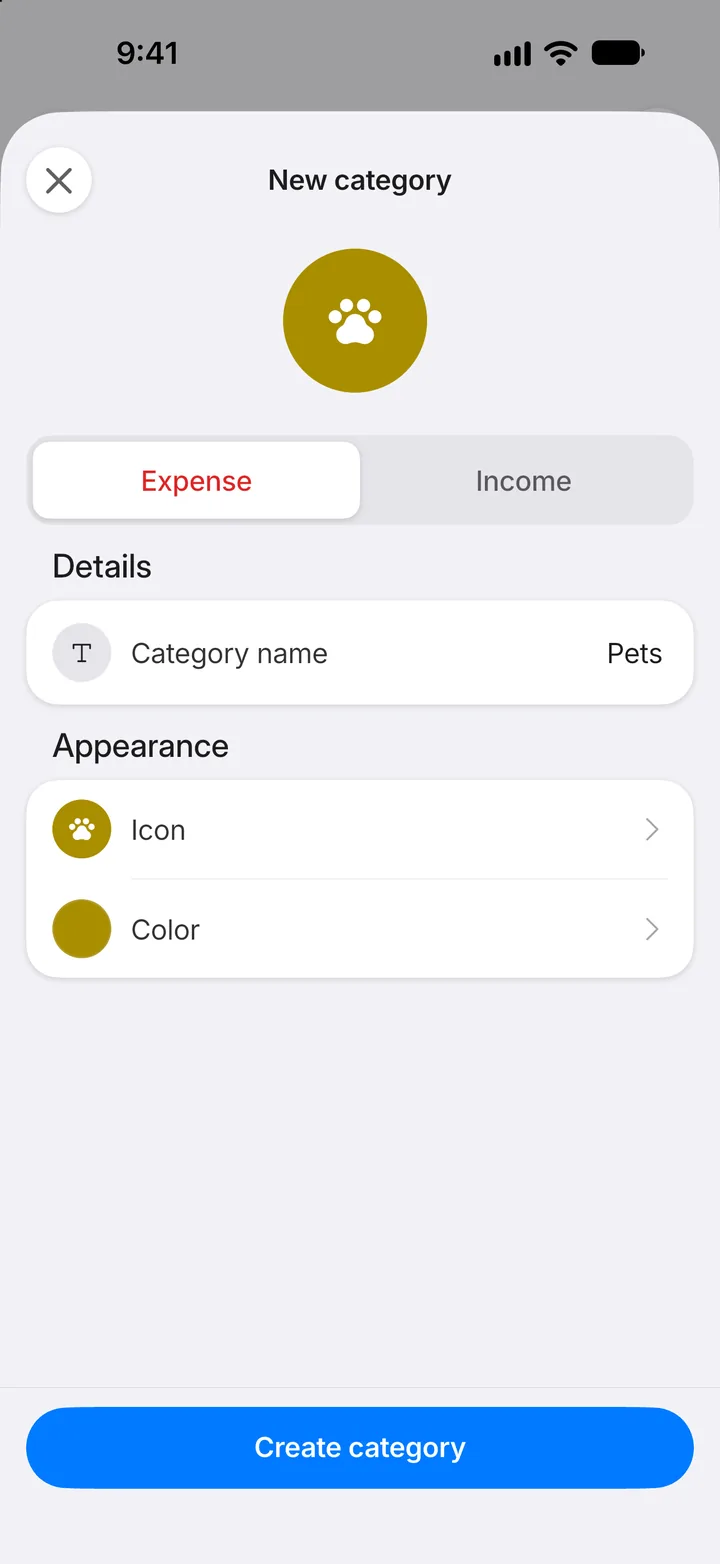
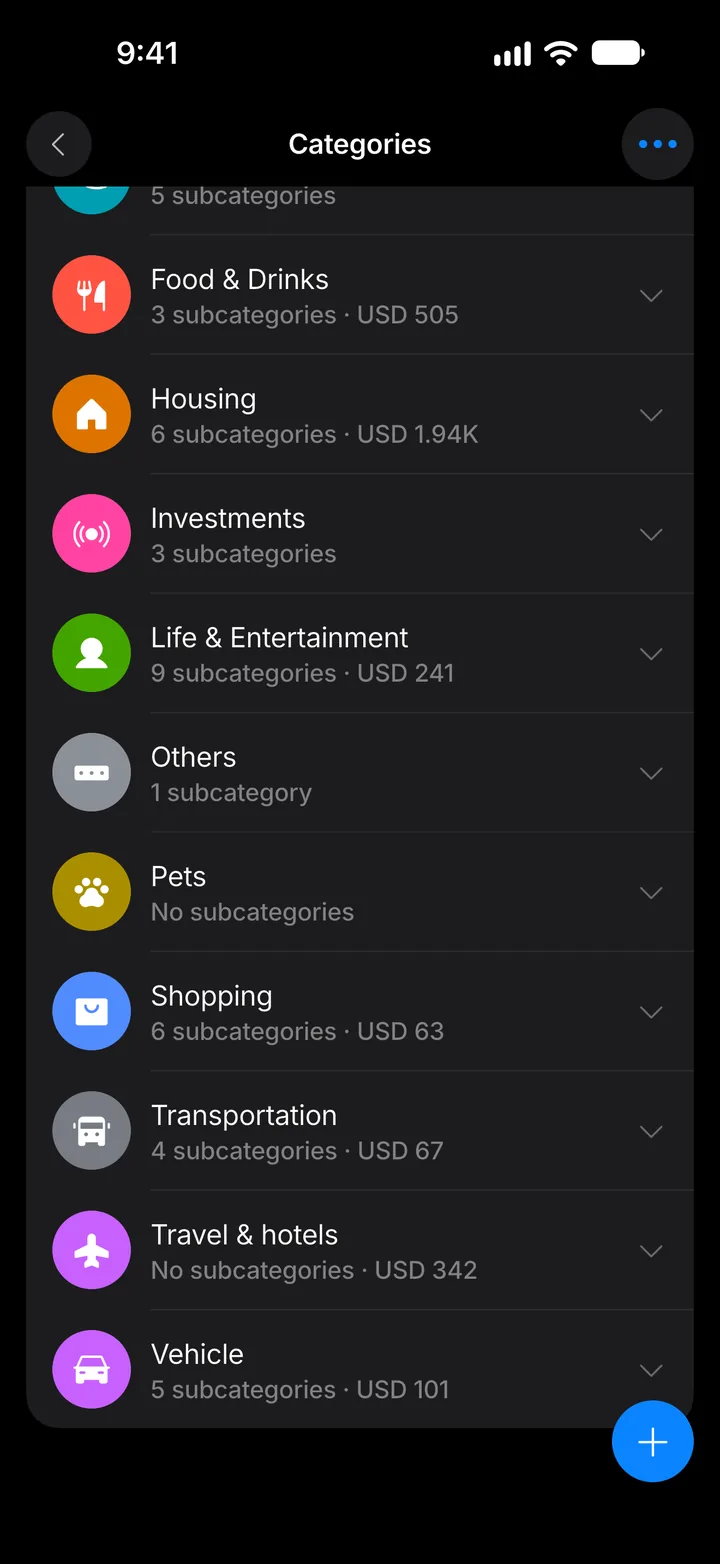
Step 7: Open the new category
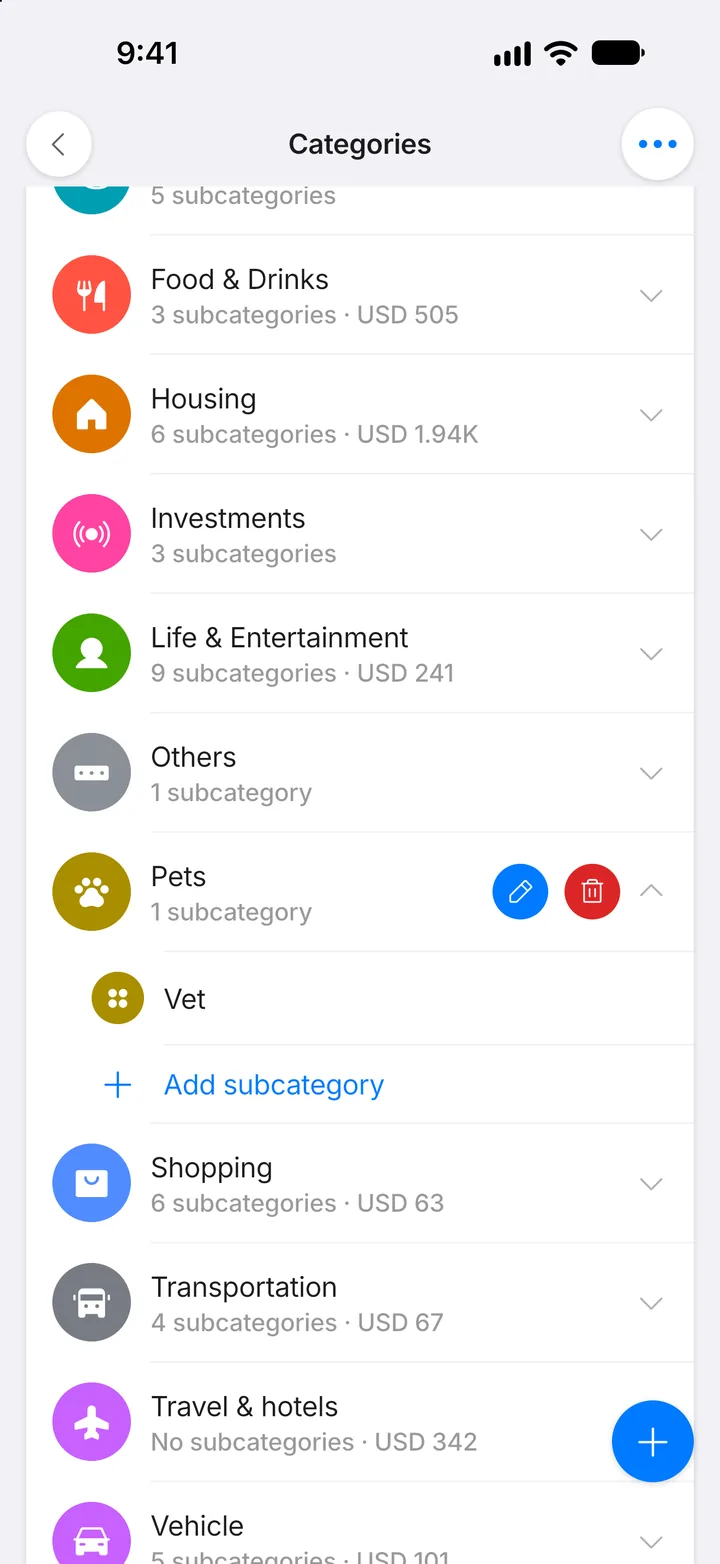
It appears in the list. Tap it to open it.
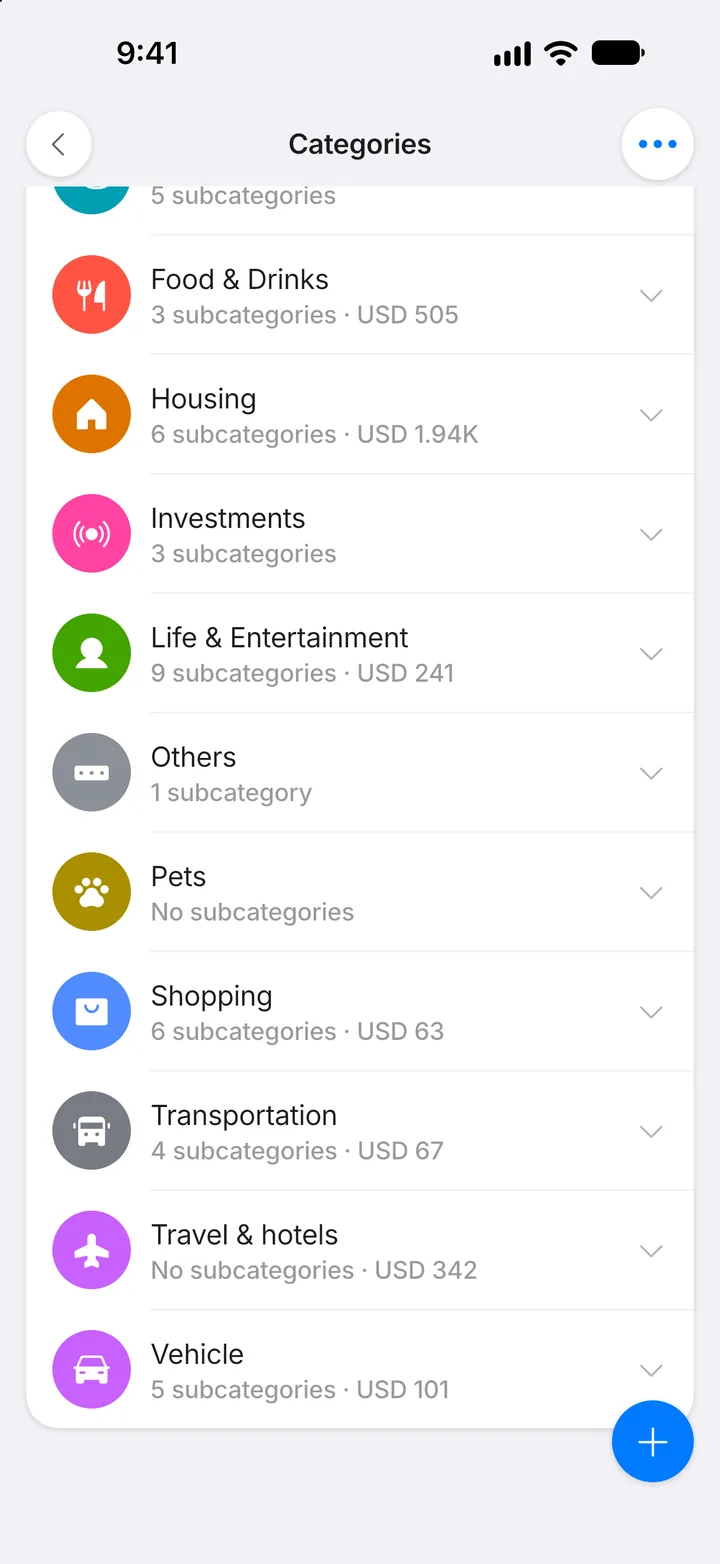
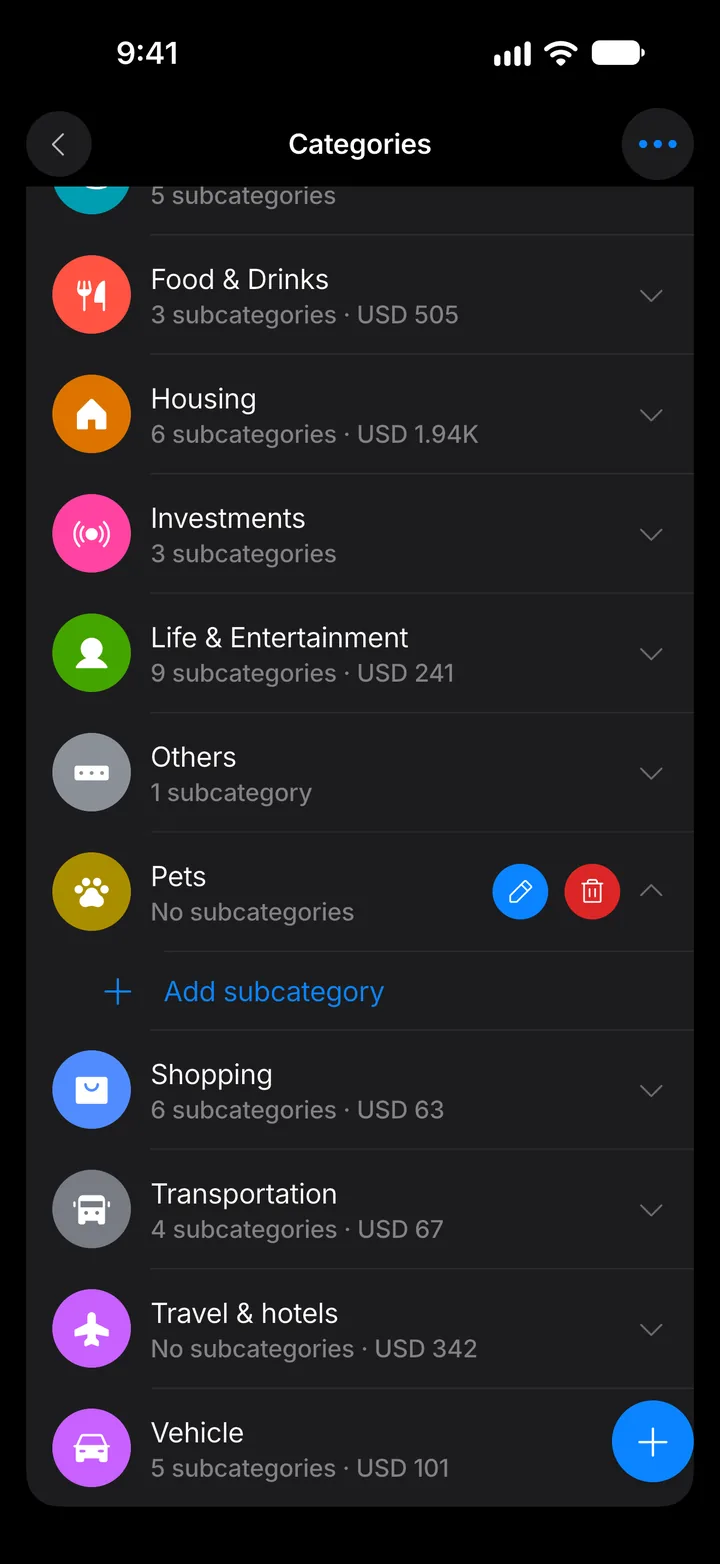
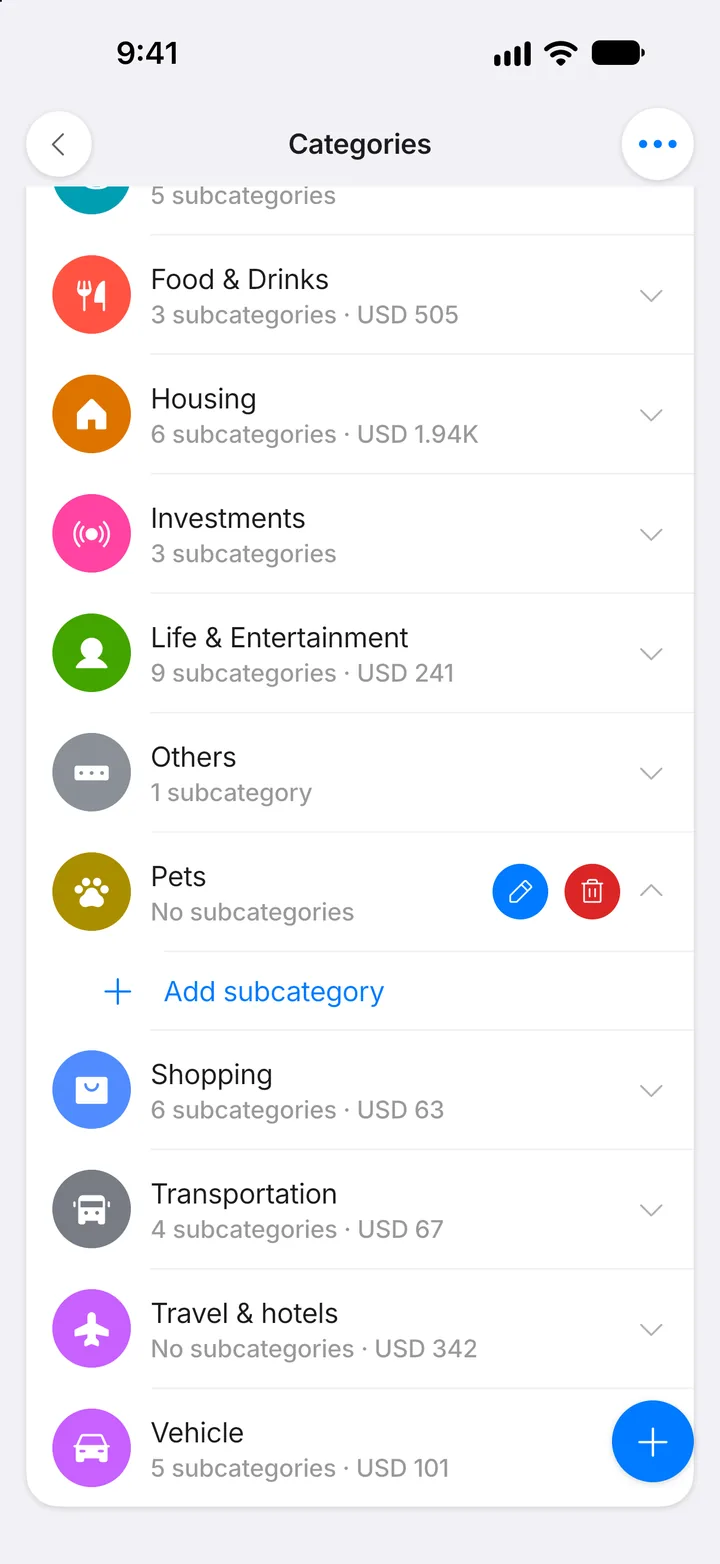
Step 8: Add a subcategory
Tap Add subcategory.
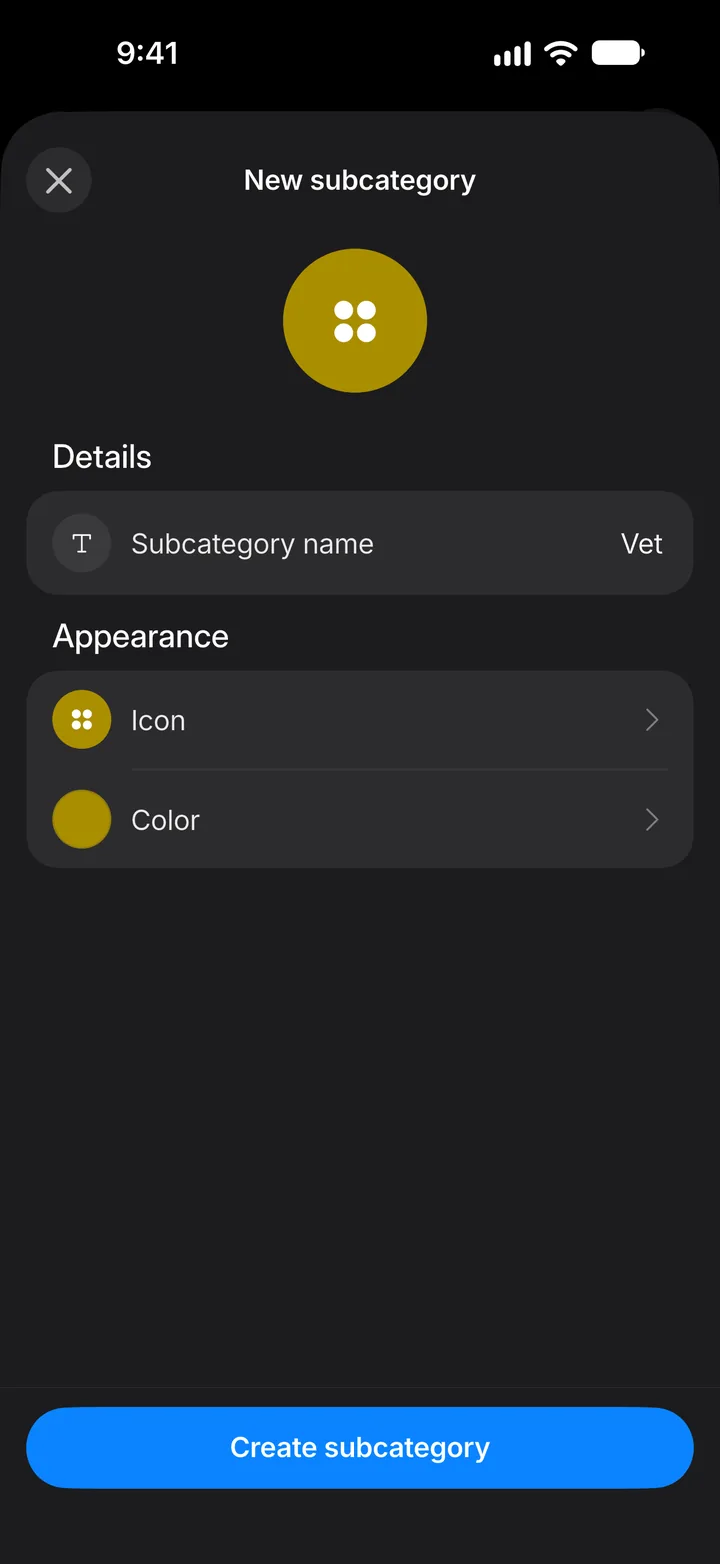
Step 9: Name the subcategory
Type a name in Subcategory name, then tap Create subcategory.
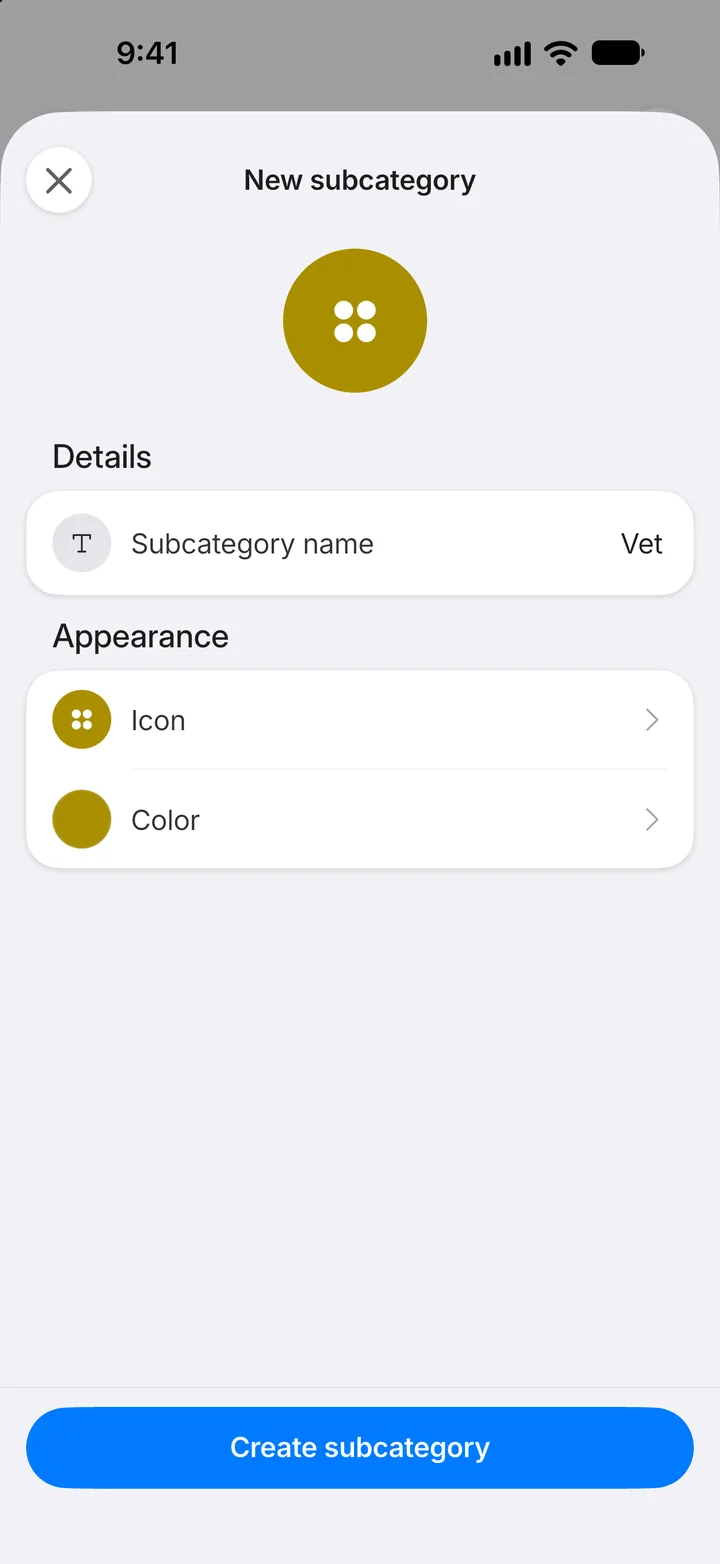
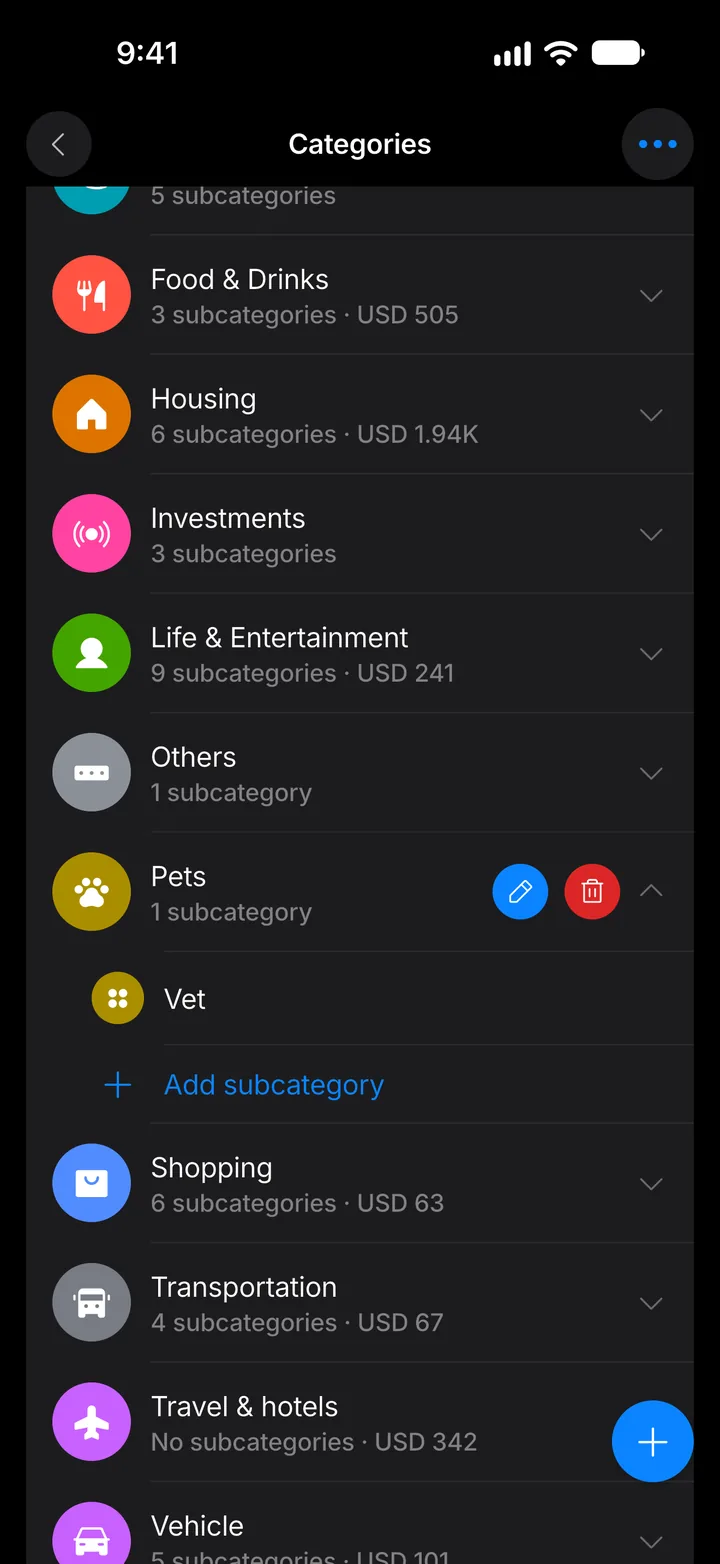
Step 10: Done
The subcategory appears under its category. Use the pencil button to rename or recolor the category.